SOLIDWORKS CommandManager Tabs Missing
How to fix missing tabs within SOLIDWORKS CommandManager
*NB* Please read before attempting: Incorrectly editing the registry can severely damage your operating system. It is strongly suggested that you back up the registry data before making any changes to the registry. This procedure will require you to rename registry entries. When working on the registry editor, never delete any entries, rather rename the file as this can be restored. Deleting entries will permanently delete the file and cannot be undone. The registry editor will require admin access, if you do not have admin access contact your local IT support. If you are not comfortable with modifying entries in the registry editor, please contact your local support.
In this article, we will discuss step by step how to reset the CommandManager. This fix is for when you lose the CommandManager tabs, for example, if in the part environment, only the features tab shows or when trying to add tabs, only a limited number of tabs are available.
These steps can also be used to reset any changes that one would like to revert. This does however remove any changes you made to your CommanManager.
Step1:
Close SOLIDWORKS.
Step 2:
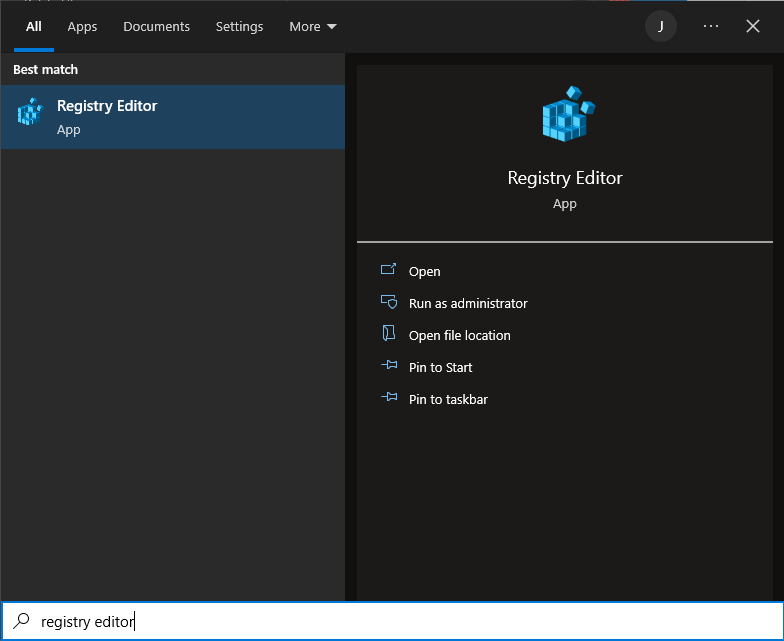
Go to your start menu and search for "Registry Editor".
Step 3:
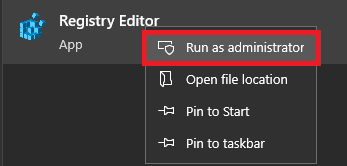
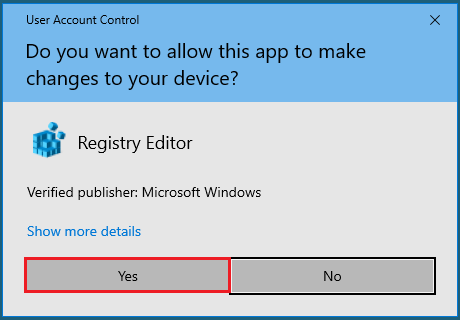
Right click on the registry editor and select the option: "Run as administrator" and click "Yes" on the popup message.


Step 4:
Locate: "Computer\HKEY_CURRENT_USER\SOFTWARE\SolidWorks\SOLIDWORKS 20xx\User Interface\CommandManager" (If multiple year versions exist on the same PC, the year version should be the newest version or select the year version you are currently using) 
Step 5:
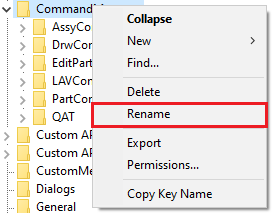
Right click on the "CommandManager" file and select "Rename". 
Step 6:
Rename the file "CommangManager_Old".

Step 7:
Run SOLIDWORKS again. This will add a new CommandManager entry and will reset the command manager.
After completing all of the steps, the CommandManager should now be back to normal.
For additional assistance, please email support@mecad.co.za.
Date: 12/04/2023
