
This article provides easy steps to improve the performance of SOLIDWORKS on your current machine, specifically if you have an Nvidia graphics card. These tips are beneficial if you are unable to upgrade your hardware or purchase a new machine, or if SOLIDWORKS is frequently crashing, which is a common issue faced by MECAD customers who have not optimized their SOLIDWORKS and Windows performance settings.
Please be aware that to have the best possible experience when using SOLIDWORKS, it is recommended that you upgrade your hardware as and when possible, depending on the type of work you will be doing. This could include standard 3D design, Simulation, or rendering using SOLIDWORKS Visualize. Additionally, it is important to regularly perform updates for Windows and your graphics card driver to ensure that everything runs smoothly.
The settings listed below have been proven to improve the overall performance of SOLIDWORKS among our customers and it is optimized for SOLIDWORKS 2024 (most options are supported on SOLIDWORKS 2022 and 2023). The SOLIDWORKS System Options changes are derived from the default SOLIDWORKS settings, therefore you might have some options selected indicated otherwise by the provided screenshots. Lastly, feel free to use the Command Search tool in SOLIDWORKS should you not be able to locate any of the commands listed in the article.
Contents Page
Section 1: SOLIDWORKS Settings
Section 2: Windows Settings and Software Updates
Section 3: Final Remarks
SOLIDWORKS Settings
The steps outlined below showcase SOLIDWORKS settings that should be changed.
It is recommended to perform a backup of SOLIDWORKS settings, should you want to revert to your previous settings at any time.
Step 1: Disable unused SOLIDWORKS add-ins:
Open SOLIDWORKS 20xx, select Options Dropdown > Add-Ins and clear the boxes of add-ins that are not being utilized. The Active Add-ins column lists add-ins currently running and Start Up column lists add-ins that run when SOLIDWORKS is launched.
It is recommended to have the options enabled in the below screenshot if you are a regular SOLIDWORKS myCADtools user.

Step 2: Change SOLIDWORKS System Options
Select Tools > Options > System Options and access the following pages:
General
- Disable “Show thumbnail graphics in Windows Explorer”
- Enable “Enable Freeze Bar”
- Disable “Show latest Technical Alerts and News in Welcome dialog”

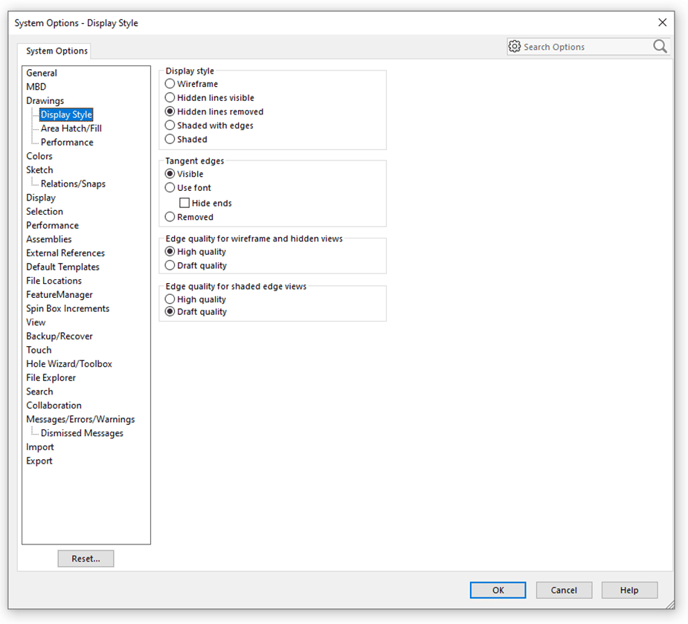
Drawings: Display Style
- Enable “Draft quality” for “Edge quality for shaded edge views”
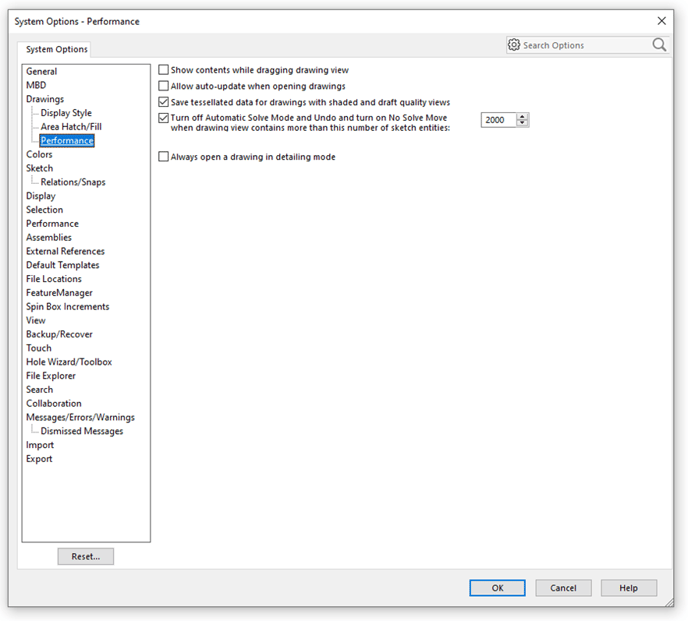
Drawings: Performance
- Disable “Show contents while dragging drawing view”
- Disable “Allow auto-update when opening drawings”
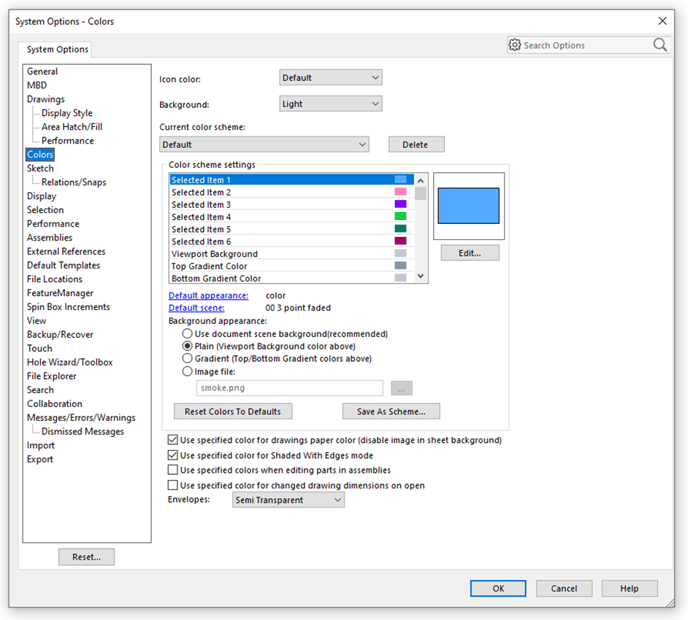
Colors
- Enable “Use specified color for drawings paper color (disable image in sheet background)”
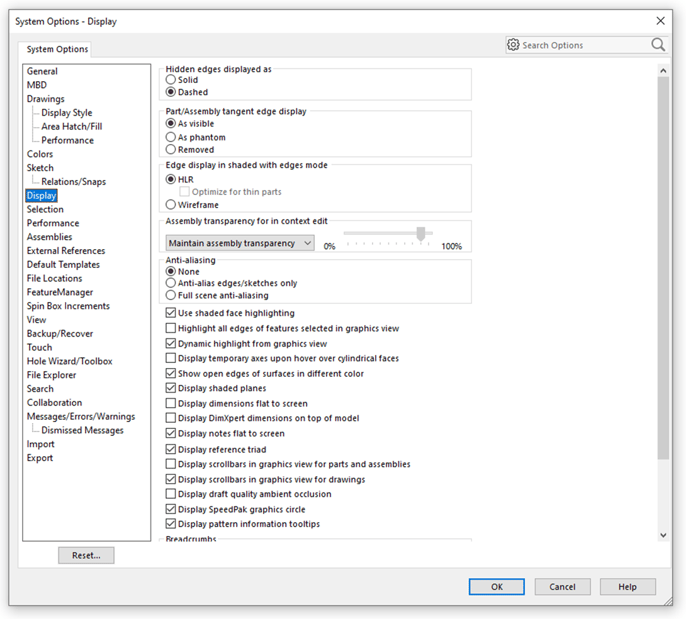
Display
- Select “Maintain assembly transparency” under “Assembly transparency for in context edit”
- Enable “None” under “Anti-aliasing”
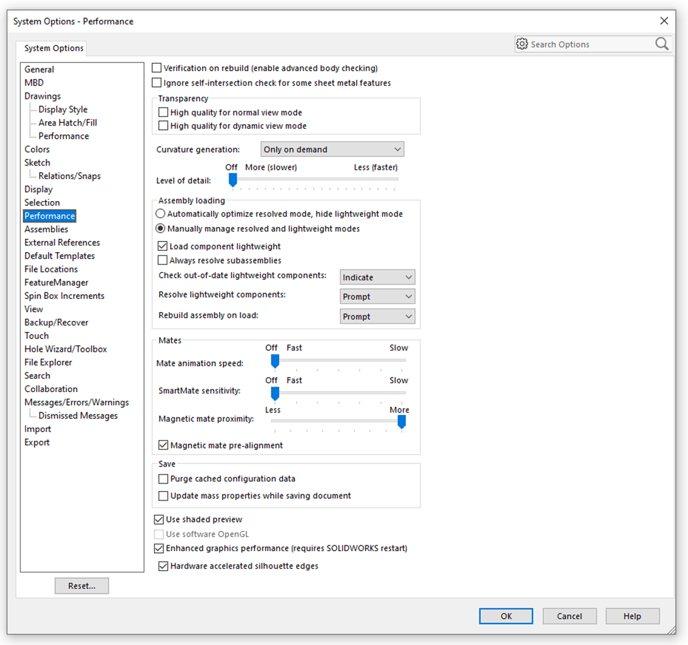
Performance
- Disable “High quality for normal view mode” and “High quality for dynamic view mode” under “Transparency”
- Move the “Level of detail” slider to “Off”
- Enable “Manually manage resolved and lightweight modes” and “Load component lightweight”
- Select “Indicate” under “Check out-of-date lightweight components” and ensure that “Resolve lightweight components” and “Rebuild assembly on load” are set to “Prompt”
- Move the “Mate animation speed” slider to “Off”
- Enable both “Enhanced graphics performance” and “Hardware accelerated silhouette edges” (do not restart SOLIDWORKS yet)
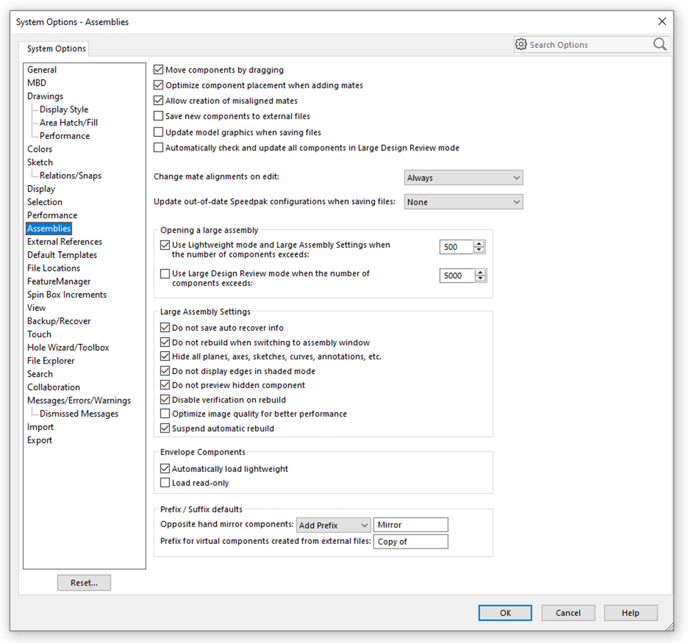
Assemblies
- Under “Large Assembly Settings”, enable all options (feel free to disable “Optimize image quality for better performance” if you find that zooming, panning and rotating affect the geometry of models that you work with too significantly).
- Enable “Automatically load lightweight” under “Envelope Components”
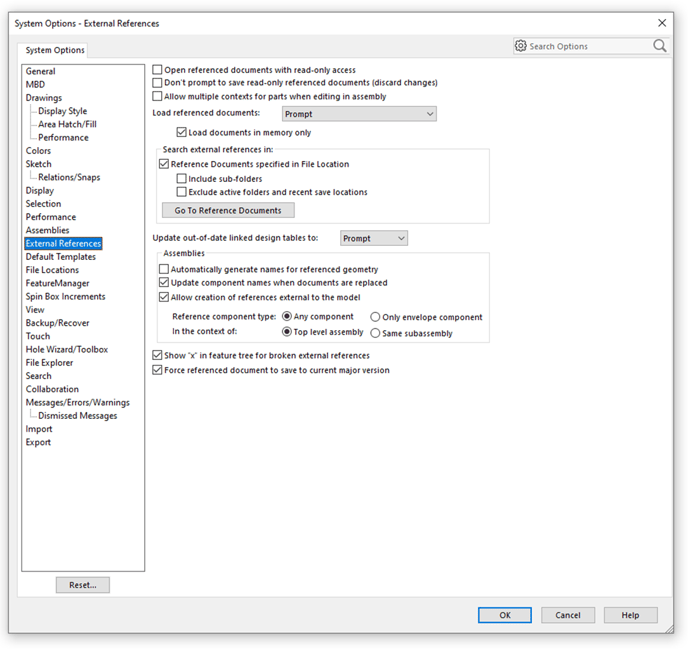
External References
- Select “Prompt” under “Load referenced documents”
- Enable “Reference Documents specified in File Location”, select “Go To Reference Documents” and add the location of the root folder where all SOLIDWORKS assemblies are stored (this option is useful if you keep assemblies in one location since SOLIDWORKS will search in this location first when looking for referenced components during assembly opening. For more information, see Search Routine for Referenced Documents - 2024 - SOLIDWORKS Help).
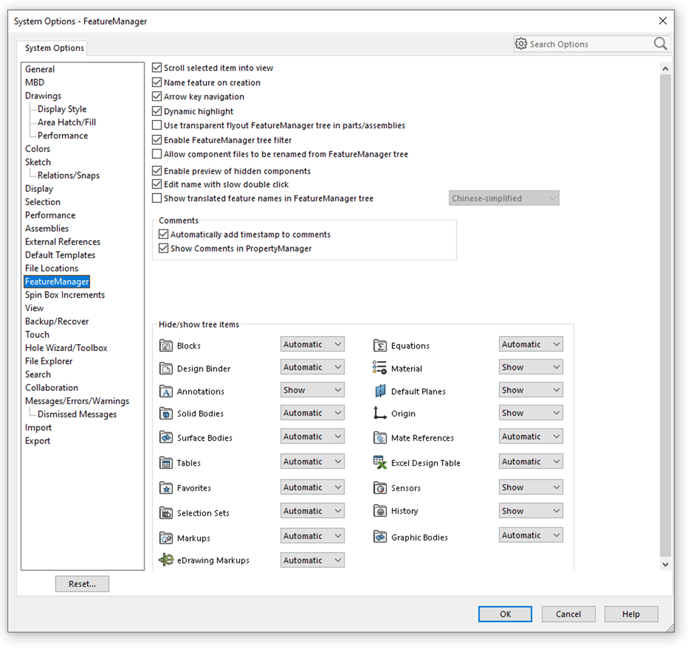
FeatureManager
- Enable “Use transparent flyout FeatureManager tree in parts/assemblies”
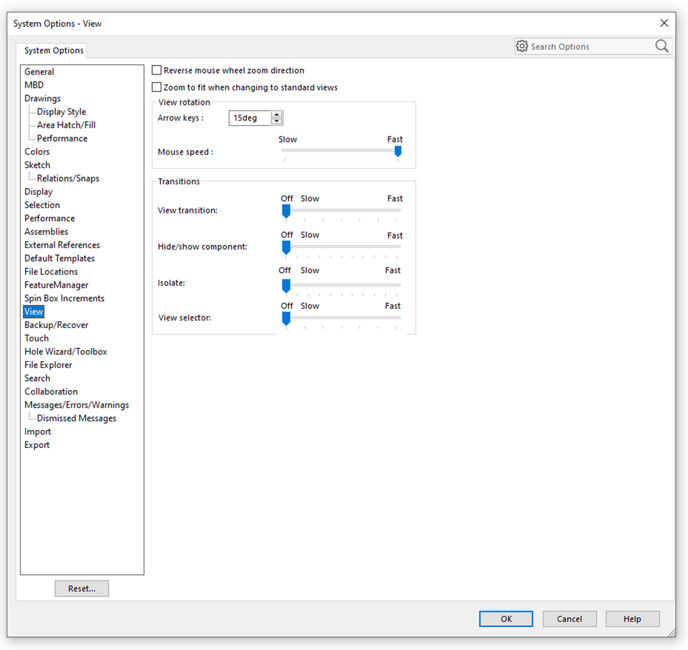
View
- Move all “Transitions” sliders to “Off”
Step 3: Change Default SOLIDWORKS Document Properties
With all part-, assembly-, and drawing templates, changing the Image Quality can significantly improve performance.
To access and keep these settings, existing document templates will have to be replaced with the modified template so that these settings will be used by default for all future SOLIDWORKS projects.
To do this, follow the steps below:
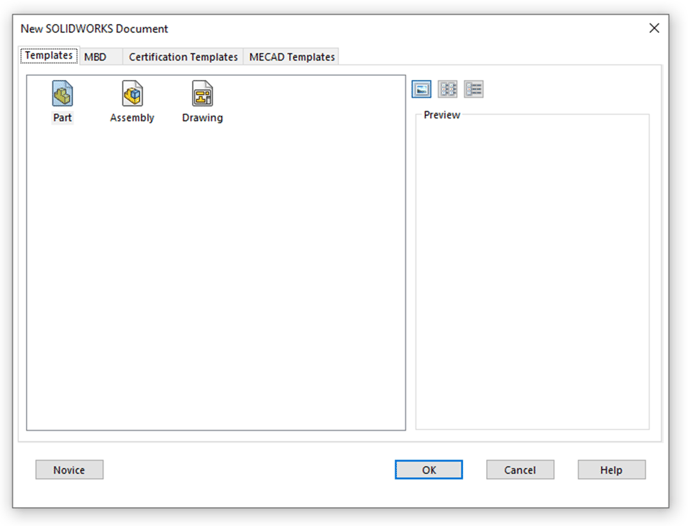
- Open the template(s) that you would like to customize by creating a new Part/Assembly/Drawing.
- With the document open, select Tools > Options > Document Properties and access the “Image Quality”.
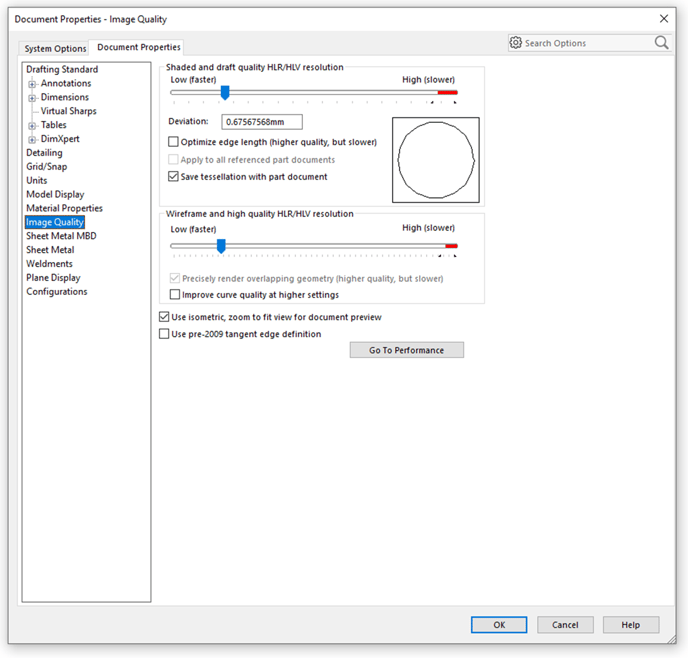
- Move the sliders for both “Shaded and draft quality HLR/HLV resolution” and “Wireframe and high quality HLFVHLV resolution” as low as possible, but not too low which will significantly affect the appearance of models. Some users prefer their models to not look like pixelated potatoes!
For the second set of steps to follow, proceed to Section 2 below and restart the PC after all the steps have been followed.
Go back to Section 1 here.
Go back to the Contents Page here.
Windows Settings and Software Updates
The steps outlined below showcase Windows- and Windows app settings that need to be changed, as well as software updates that need to be applied. These settings will apply to all types of SOLIDWORKS users.
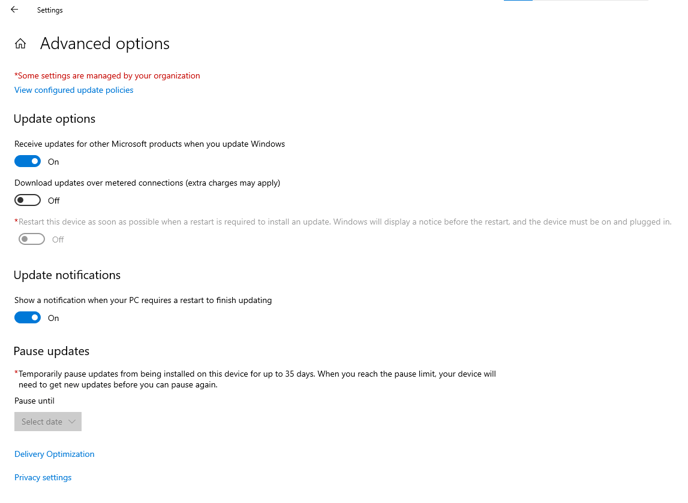
Step 1: Perform Windows Updates
When performing Windows updates, be sure to enable the "Receive updates for other Microsoft products when you update Windows" as well as the "Show a notification when your PC requires a restart to finish updating" to both keep your Microsoft Store-installed apps up to date (recommended) and be sure to restart the machine after the update is complete.
Step 2: Repair the Windows Installation
To repair Windows on your machine, follow the steps outlined below:
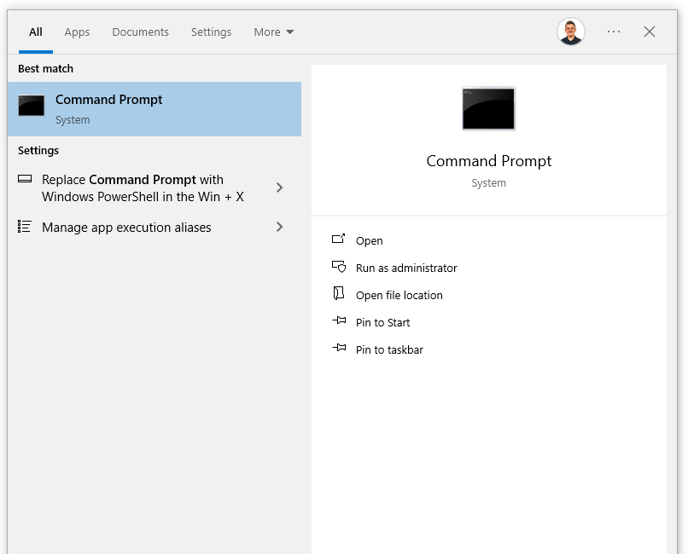
- Open the Command Prompt application as an Administrator.
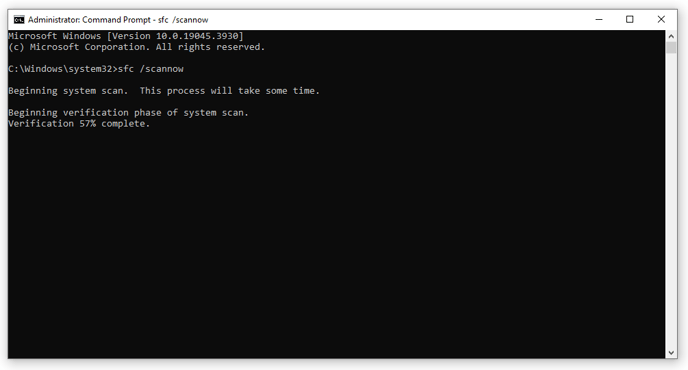
- Run the sfc /scannow command and wait for the command to finish repairing Windows (should the installation be corrupt).
Step 3: Change Nvidia Control Panel Settings
The Nvidia Control Panel is the Windows application that control all Nvidia GPU-related settings.
For the most optimal settngs to be applied, be sure to follow the steps outlined below:
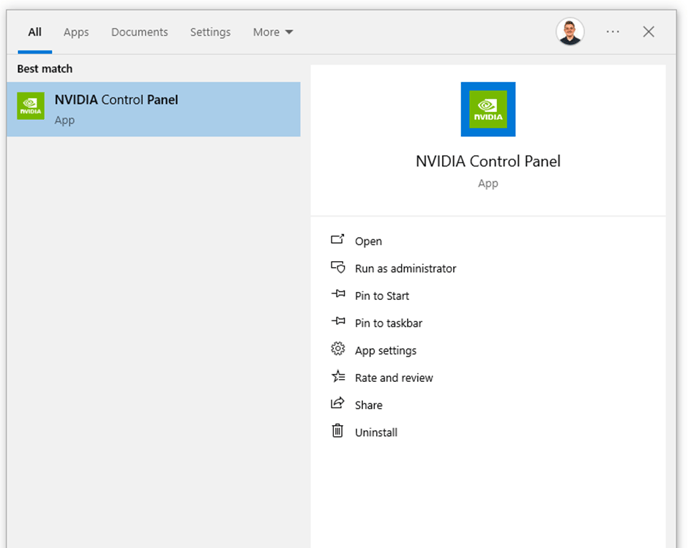
- Open the Nvidia Control Panel application.
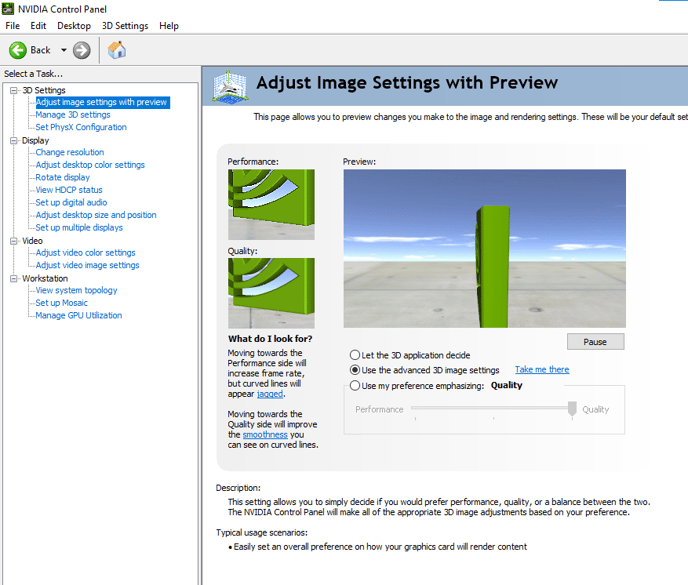
- Select "3D Settings: Adjust image settings with preview" and enable "Use the advanced 3D image settings".
- Select "3D Settings: Manage 3D Settings" and set the following:
- Set "Preferred graphics processor" to "High-performance NVIDIA processor" (if applicable).
- Under "Settings", set "OpenGL rendering GPU" to your installed Nvidia GPU and "Power management mode" to "Prefer maximum performance".

- Select "3D Settings: Set PhysX Configuration" and set "Select a PhysX processor" to your installed Nvidia GPU.
Step 4: Change Windows Control Panel Settings
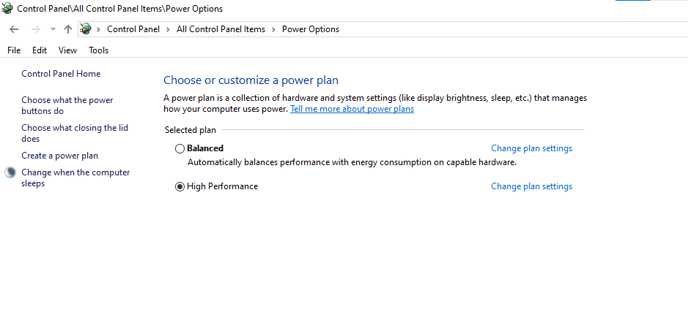
The Power Plan set in the Windows Control Panel has an impact on your Windows Performance, therefore the Power Plan will be changed for optimal WIndows Performance.
- Open the Control Panel application.
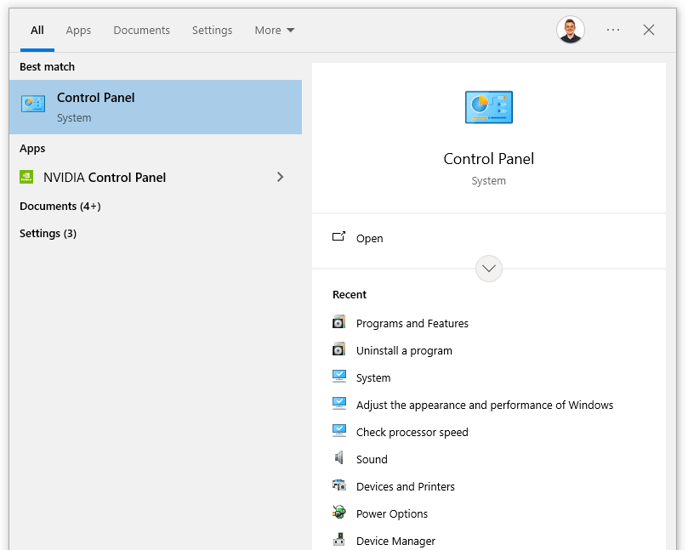
- Select "Power Options" (be sure to search if not visible) and enable "High Performance" as the Power Plan.
Step 5: Adjust The Appearance and Performance of Windows
The overall Windows appearance plays a role in overall performance, as well as the Processor Scheduling settings of the machine.
The Performance Options application window will be used to change these settings, as shown below:
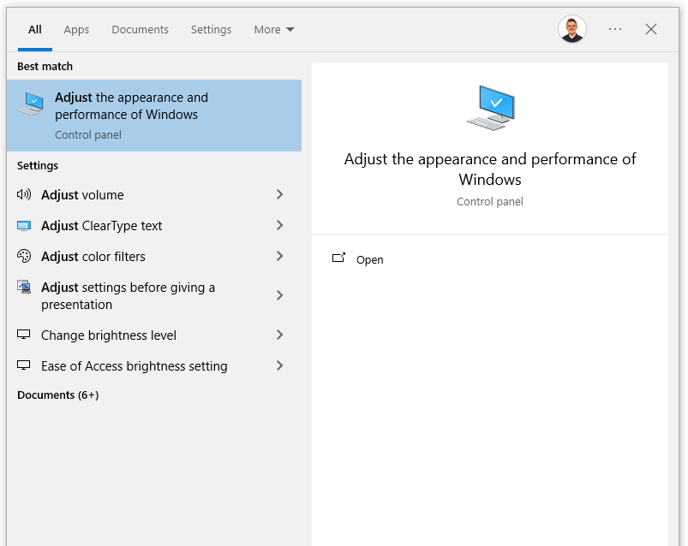
- Type in, search and open the app by typing "Adjust" in the Windows Search bar.
- (Optional) Under "Visual Effects", enable "Adjust for best performance", however be sure to enable "Smooth edges of screen fonts" and "Smooth-scroll list boxes" to have a smooth and crisp Windows menu navigation experience.
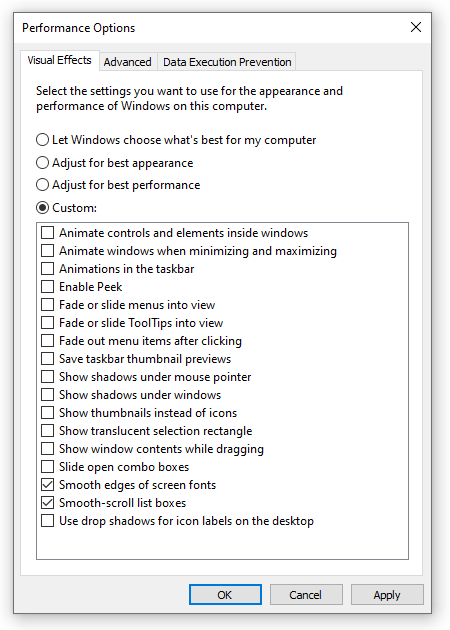
- Select "Advanced" and select "Change".
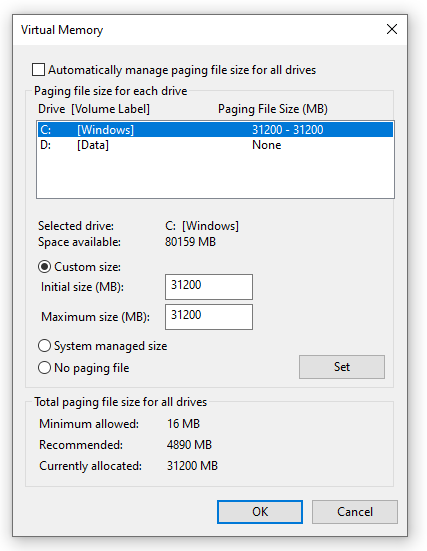
- With the "Virtual Memory" application window open, increase the "Initial size" and "Maximum size" value to any value greater than that of the installed RAM capacity on your machine (should you have enough storage left on your storage drive).
Windows Virtual Memory is a feature of the Windows operating system that allows the computer to use hard drive space as if it were additional RAM. When the physical RAM in a computer is fully used, Windows can move data from the RAM to a space on the hard drive called the "paging file" or "swap file" to free up RAM for other applications.
Typically, one can change the paging file size of all drives to any value lower than that which is available. However, please do consider the long-term effects, seeing that more drive storage will be utilized as time progresses. For more information, click here.
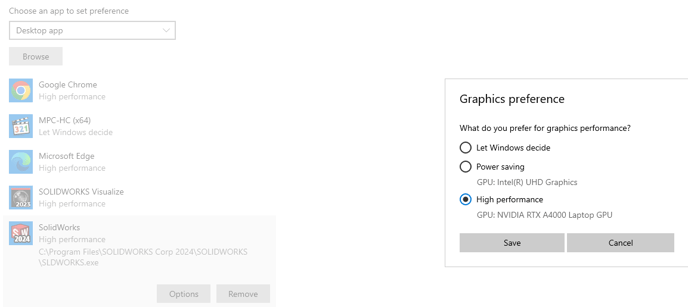
Step 6: Change Default SOLIDWORKS Performance in Windows Settings
Within the Windows Settings application, preferences can be set for the Graphics Performance Preference of SOLIDWORKS, similar to what was done before with the Power Management option in the Nvidia Control Panel application.
The steps are shown below:
- Open the Windows Settings application and access the "System" menu.
- Under "Display", select "Graphics settings".
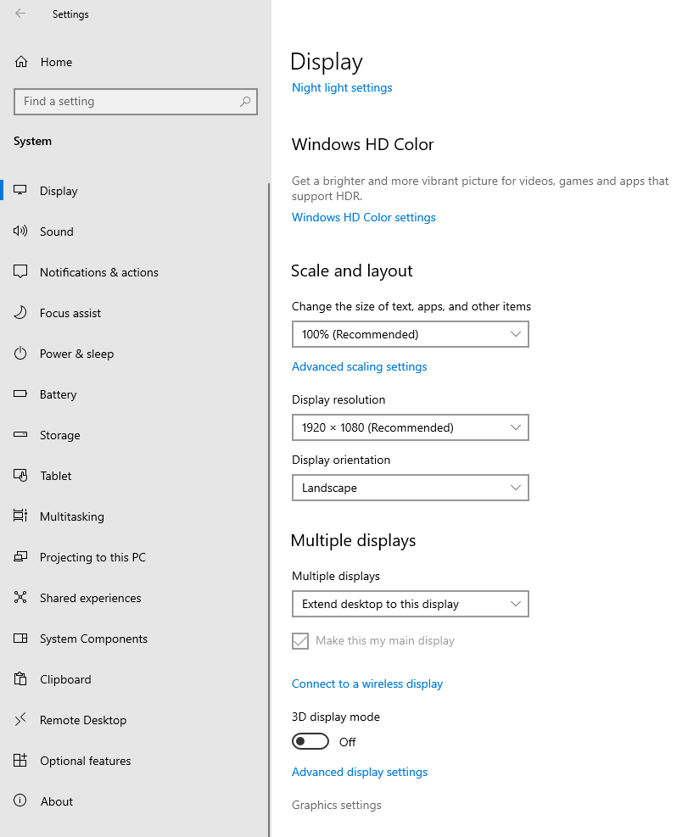
- Enable "Hardware-accelerated GPU scheduling" and select "Browse"
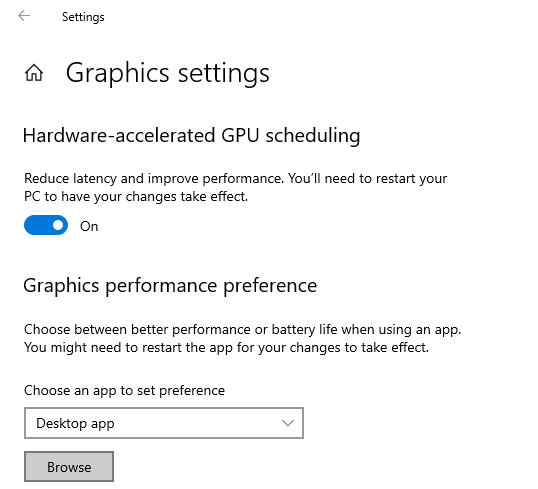
- Browse to "C:\Program Files\SOLIDWORKS Corp\SOLIDWORKS" and select the appropriate "SLDWORKS.exe" file.
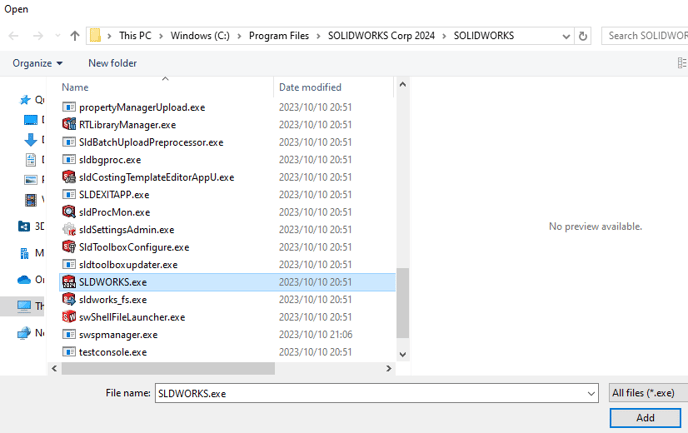
- With the application's menu visible, select "Options", enable "High performance" and Save.
Go back to Section 2 here.
Go back to the Contents Page here.
Final Remarks
This concludes the article and all steps have been listed.
Having followed the steps listed above, a significant change in SOLIDWORKS performance should be evident once the machine has been restarted.
In addition, be sure to stay up to date with the latest SOLIDWORKS version, listed on the SOLIDWORKS Downloads website and keep all software (where possible) up to date on your machine.
Should you have any other questions or enquiries, feel free to browse the rest of the MECAD Systems Knowledge Base.
For support enquiries, please contact us at support@mecad.co.za and we will gladly assist.
Date: 14/02/2024