
When exporting DXF or DWG files in SOLIDWORKS, you have the option to send certain entities to separate layers for use in either another 2D program, or a CAM software. For example, some CAM programs can automatically assign a certain operation and tool to a certain layer e.g. Scribing sketches can be mapped to the Scribe layer.
To map different entities to different layers, you’ll have to turn on the setting first:
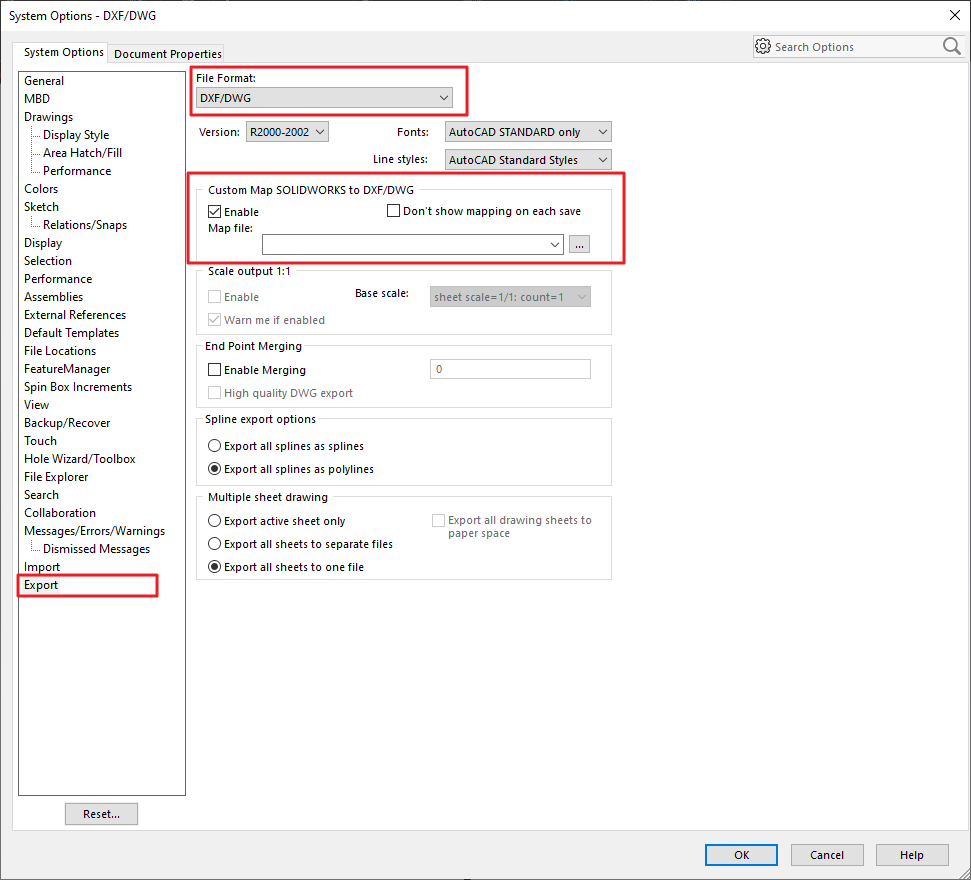
Go to > Options > System Options > Export > Choose DXF/DWG as the file format > Enable “Custom Map SOLIDWORKS to DXF/DWG”. This will now cause the “Map Entities” dialog to pop-up every time we save a DXF or DWG.
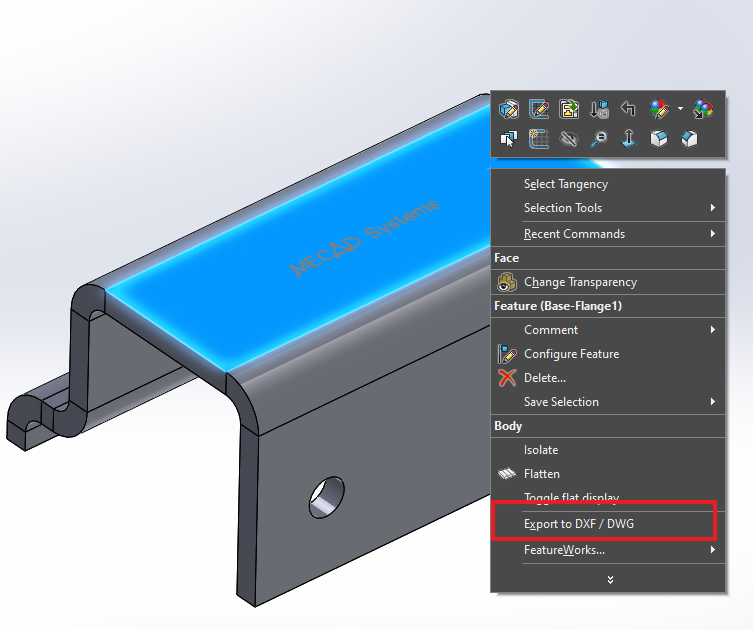
Let’s export a sheet metal part for laser cutting and etching:
First, RMB on a face and select “Export to DXF/DWG”
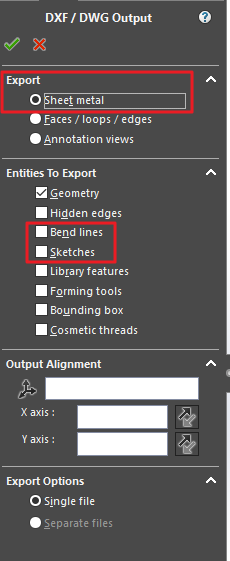
Select everything you want to be in the DXF. In this case, I’m selecting Geometry, Bend Lines, and Sketches. Hit OK.
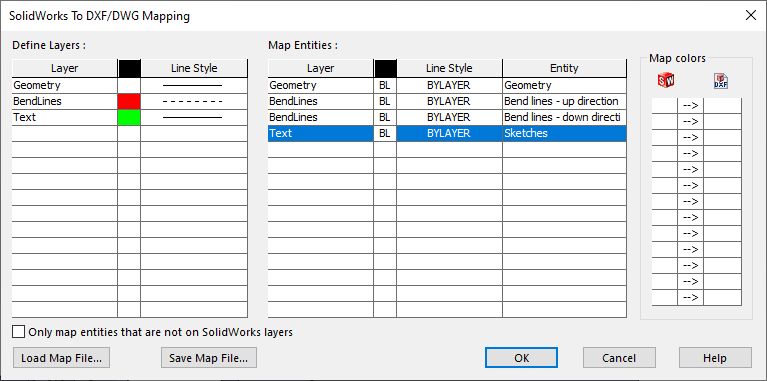
Now the “SOLIDWORKS To DXF/DWG Mapping” dialog appears.
Go ahead and add the different layers that you want to be in the DXF output. I’ll use the layers; Geometry, BendLines, and Text.
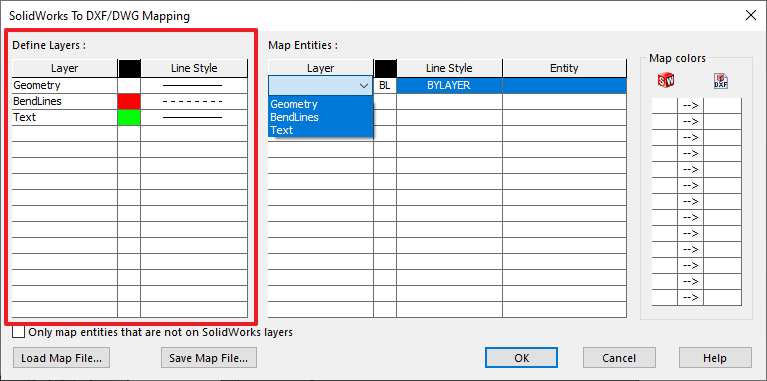
Next, you want to select the entities that you want to map to the layers you created. I’m going to map the Geometry entitiANydeskes to the Geometry layer, Both bend lines up and down to the BendLines layer, and the Sketches to my Text layer.

Once you're done, it should look something like this:
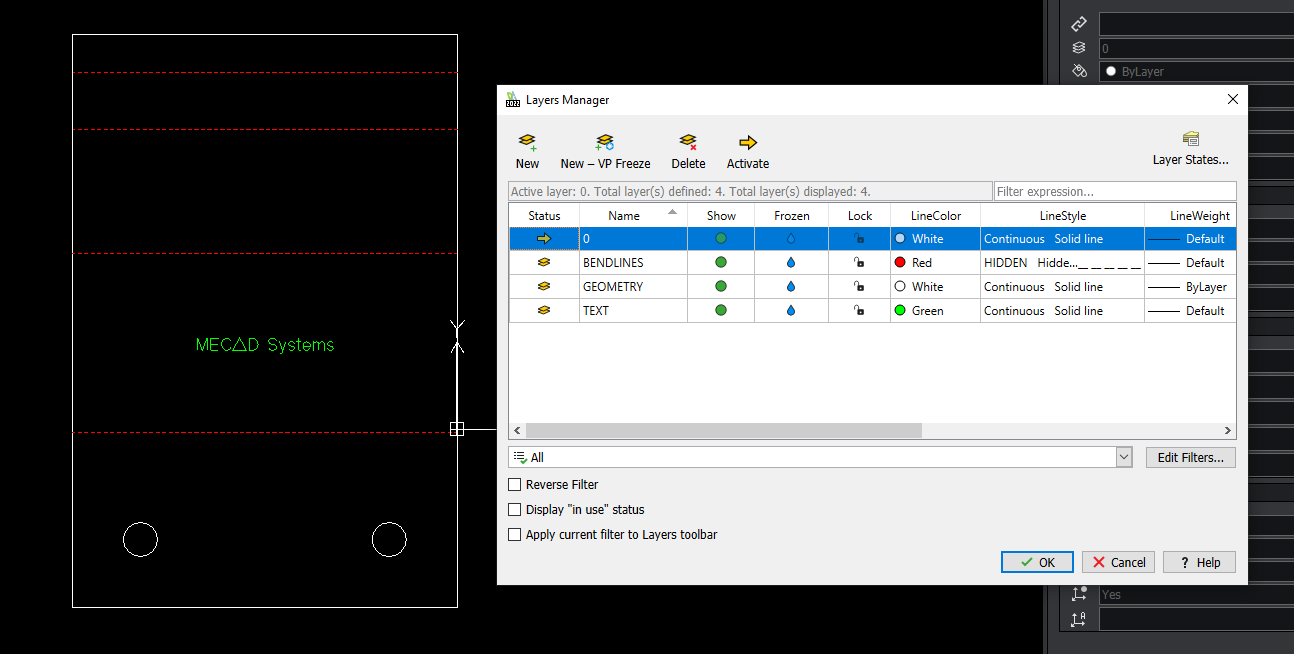
Save your Map File and you’ve got a DXF with the appropriate mapped layers! Once you save the Map file, it'll be used until you change it again.
Date published: 11/07/2022