
Creating custom thread profiles can be useful when thread profiles need to be created that is not the standard thread sizes added within SOLIDWORKS.
1) The programdata folder (where the thread profiles will be located) from default, is a hidden folder, in this case we just need to set the view for Windows file explorer to show hidden folders.

2) Locate the SOLIDWORKS thread profiles folder (In SOLIDWORKS you can not add a folder with your own custom threads so we will have to use the folder made with the SOLIDWORKS install).
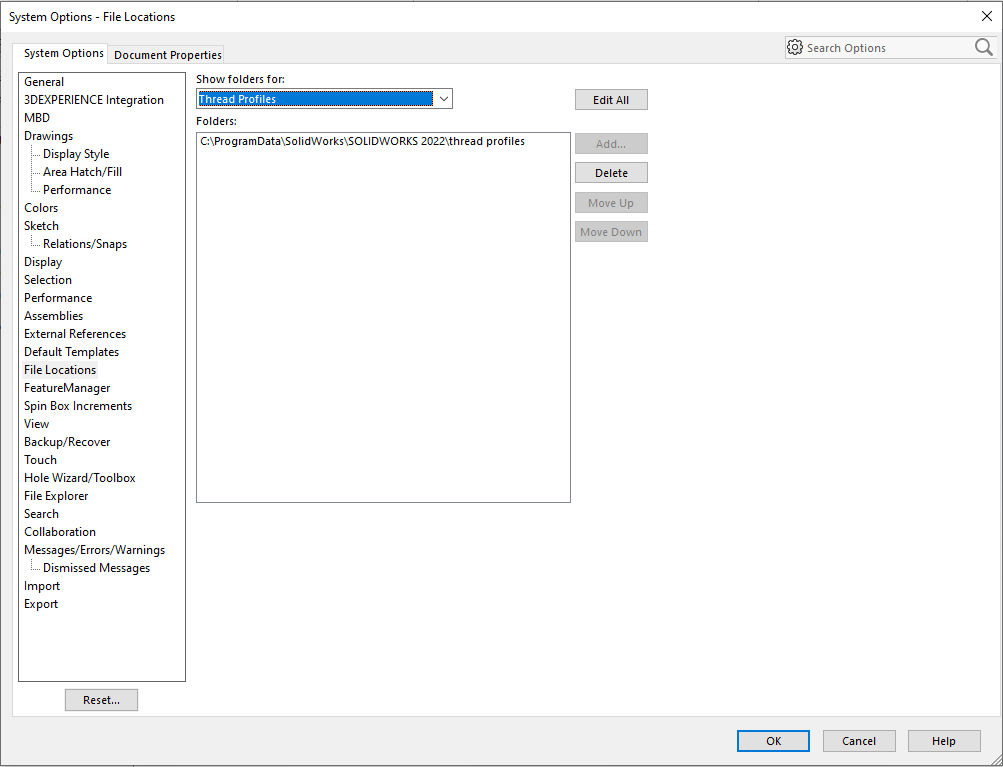
3) Navigate to the folder containing the current thread profiles from within SOLIDWORKS.

4) Open one of the files within this folder, the files should be .SLDPF files (open the file that represents the sort of thread that you would like to create. We will be using Metric Die for this example).
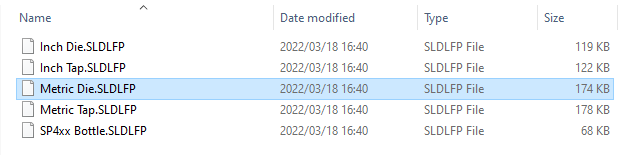
5) A warning will appear asking if you would like to open the file with read only access, click on "Open Read-Only" (this is not a problem as we will be saving the new thread profile as a new file).

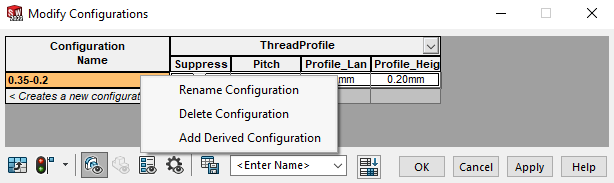
6) With the file open, navigate to the Configuration manager, delete all the configurations except for one, it does not matter which one you keep (We will be creating new configurations).
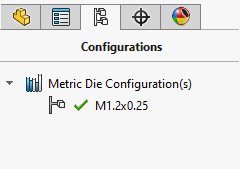
You can either select the configurations and press "Delete" on your keyboard or select the configurations, right click and click on 
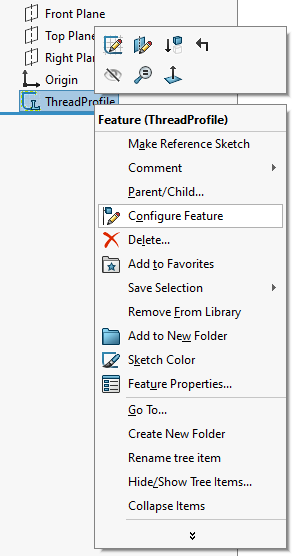
7) In the Feature Manager of the file, right click on the "ThreadProfile" sketch and click on "Configure Feature".
8) Rename the configuration to your liking, for example pitch-profile height*
9) Create new configurations with your desired thread sizes.
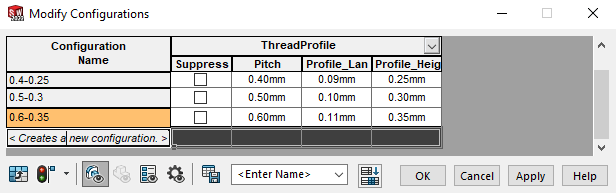
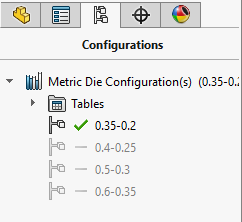
10) To save these configurations click on "Apply" then "OK" (the order is important).
11) Confirm the configurations have been added to the Configurations Manager.
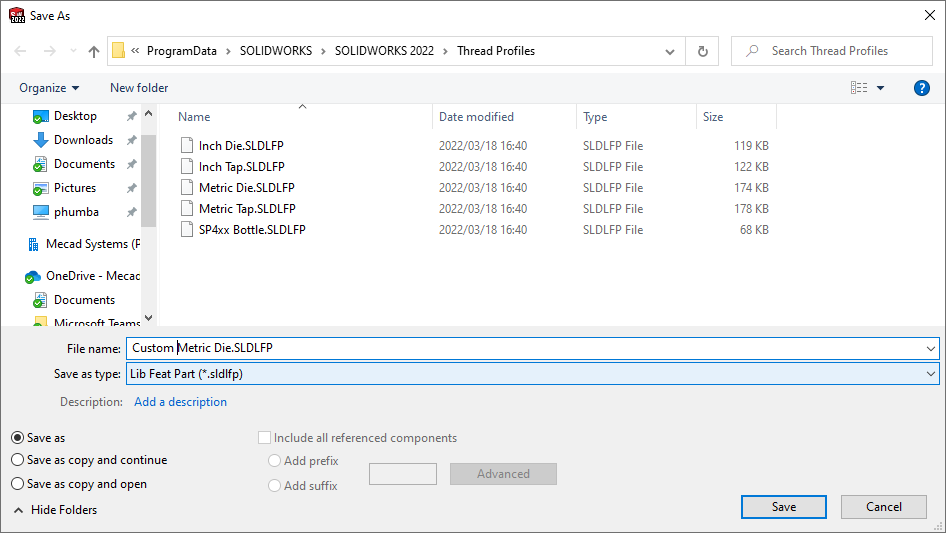
12) Save the thread profile by going to File>Save As, make sure the "Save As Type" is set to "Lib Feat Part (*.sldlfp)". Rename the file to suit your application and click on "Save".
13) You can now add your custom thread to your part.
Date published: 27/05/2022