
When creating weldment structures, we make use of 3D sketches. 3D sketches can often be more challenging to use than their 2D counterparts. A more straightforward way to create weldment structures is by converting a solid body.
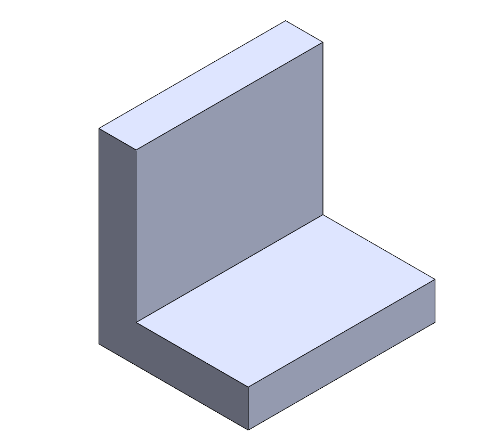
Firstly, I would like to create a weldment structure with an L-shape. To do this, an L-shape solid is created from a single 2D sketch.
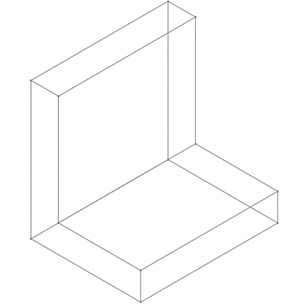
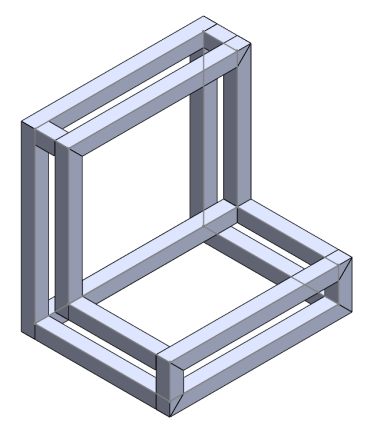
Next, create a 3D sketch. Select a single edge of the solid body and then press Ctrl + A to select all the other edges. By using convert entities, all the edges of the solid body are converted to a 3D sketch. Use the Delete/Keep body feature to delete the solid body since it is no longer needed. A further benefit of this method is that changes made to the solid body will still be translated to the weldment structure. The resulting 3D sketch and weldment structure can be seen below.
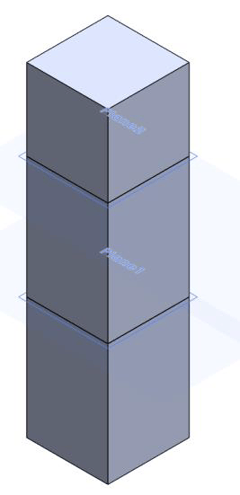
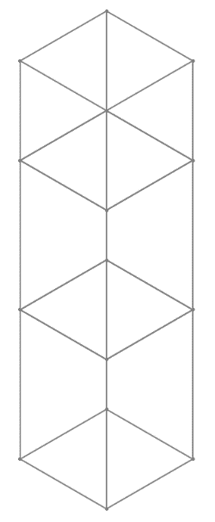
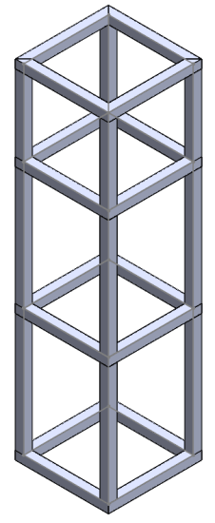
The key thing to note here is that the edges of the solid will be converted into a 3D sketch. If more edges are needed for the 3D sketch, it can be created in a few different ways. One way will be illustrated using the solid body below. By using two offset planes (trim tools) from the top plane and the split feature, the necessary edges are added by splitting the original solid body into three solid bodies.
With all the required edges available, following the similar procedure as outlined above, the weldment structure can be created. Again, the sizes of this weldment structure can be changed by changing the dimensions of the solid body. Additionally, the middle segments can also be adjusted by changing the offset distance of the planes.
Date: 09/05/2022