
Activation:
1. Go to “Start > SOLIDWORKS Tools [Year Version] > SolidNetWork License Manager Server”2. Opening it up will display this message:
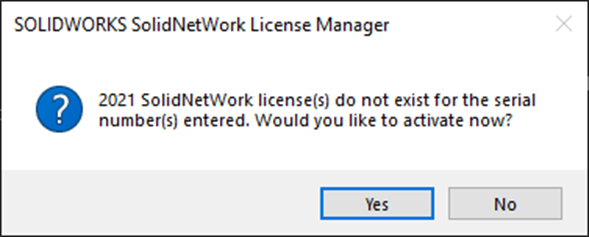
3. Click “Yes”. This will open this dialog:
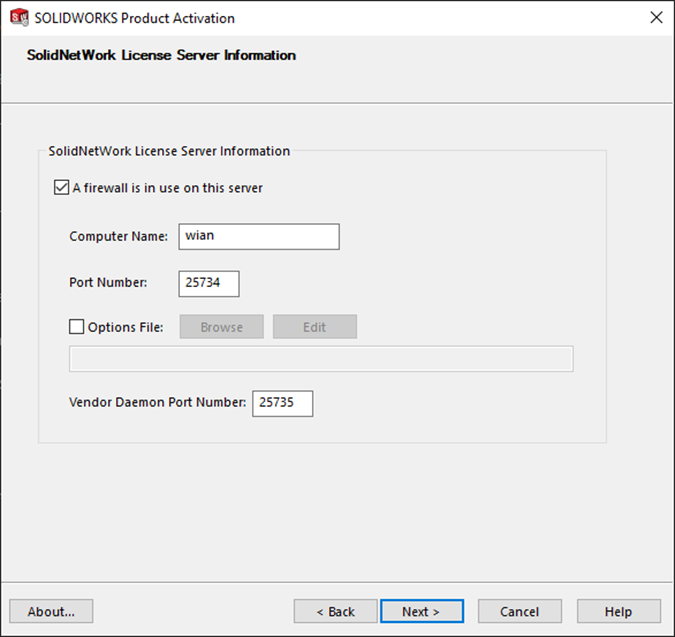
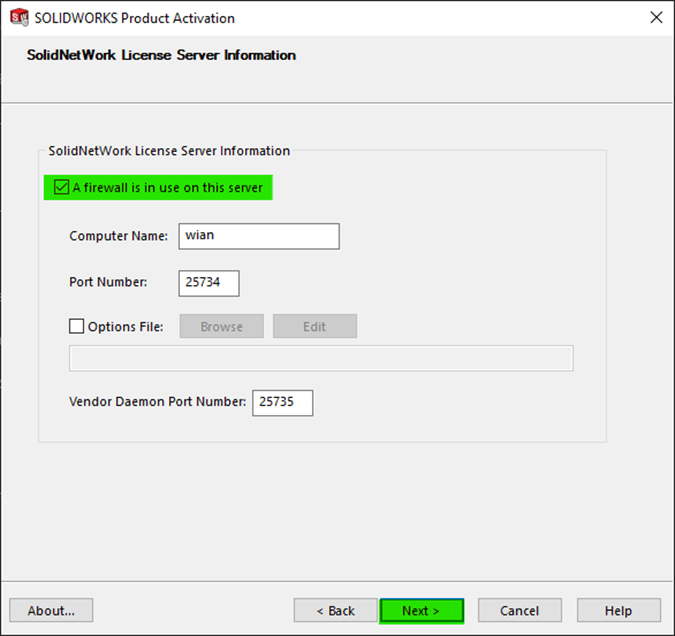
4. If you’re using a firewall on your server, select the option “A firewall is in use on this server” before clicking “Next”.
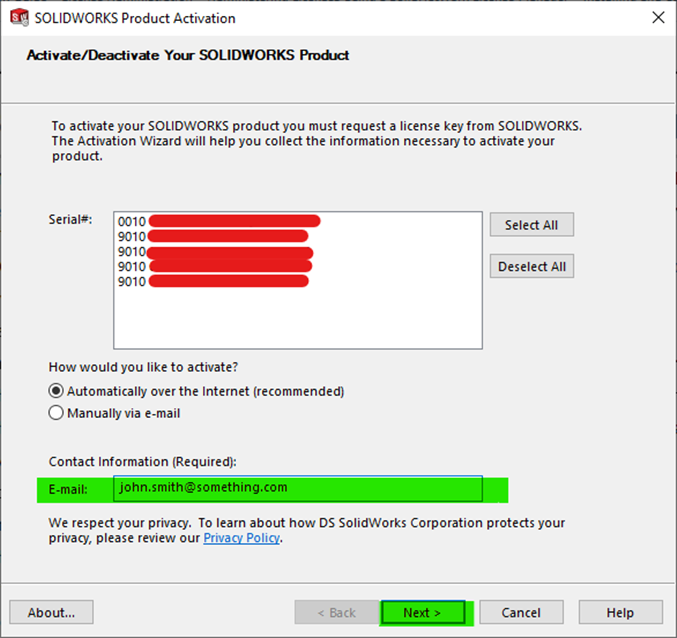
5. Next, you’ll just have to click “Select All”, insert your email address and click “Next”. This will activate all your licenses.
6. Click “Finish” on the next dialog, and you’re good to go.
Deactivation:
1. Go to “Start > SOLIDWORKS Tools [Year Version] > SolidNetWork License Manager Server”
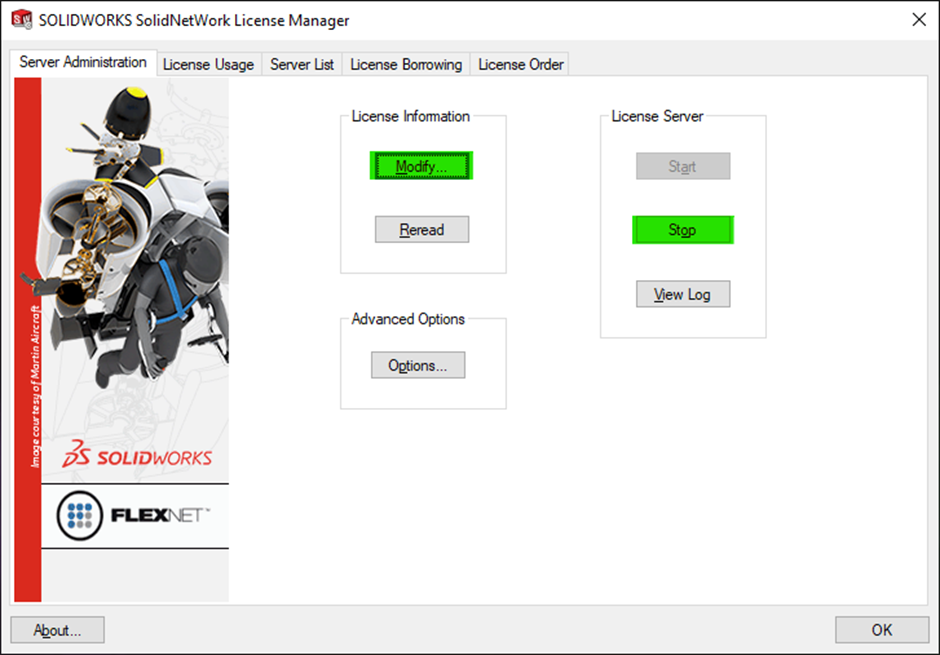
2. On the Server Administration page, under License Server, click “Stop” to stop the service. Then Click on “Modify”.
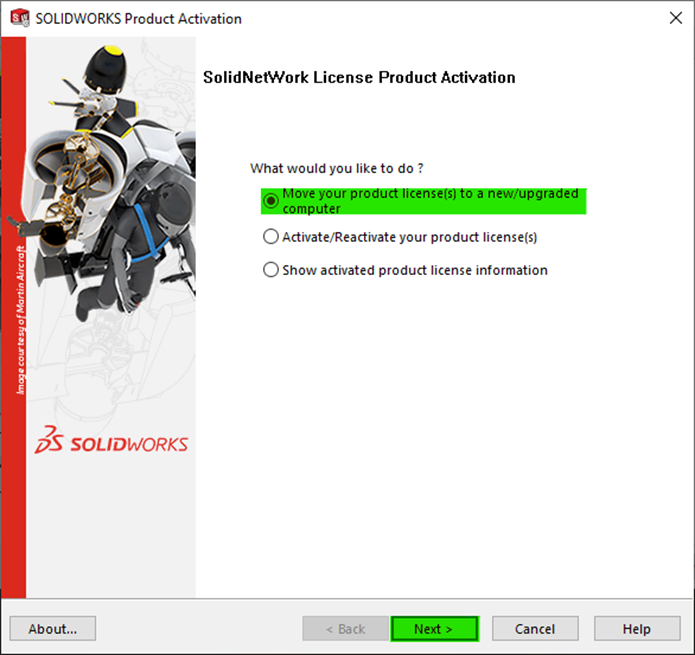
3. Select “Move your product license(s) to a new/upgraded computer” and click “Next”.
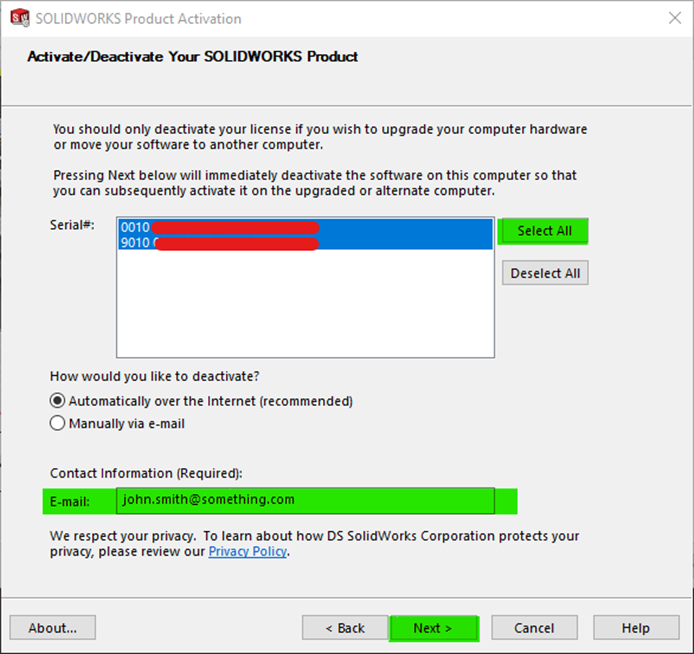
4. Click on “Select All”, enter your email address, and click “Next”.
5. Click “Finish”, and you’re good to go!
Date published: 15/07/2022